Use breakout rooms in Zoom

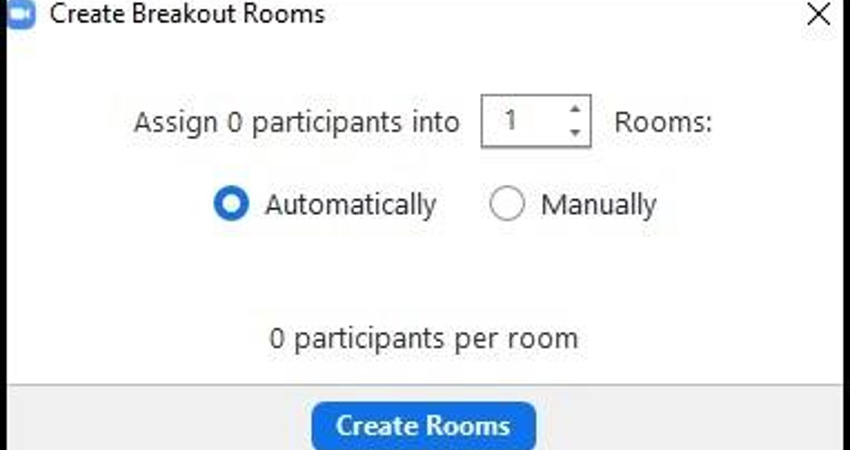
This guide highlights some of the features of breakout rooms in Zoom. The breakout rooms function differentiates Zoom from other online platforms (e.g. Google Meet) as it enables the host to assign students into smaller groups for seminar-style discussion or collaborative work.

Why would a teacher use this approach/tool, and link to the 4C features

Breakout rooms are suitable for seminar-style group work and provide a less pressurised space for discussion and collaboration. The four key features are:

  1. Creating rooms and assigning participants. This can be done in advance or whilst the meeting is in progress. There is also an automatic feature for random assignment of participants to groups which makes the process even quicker.
  1. Monitoring. Hosts can dip in and out of the breakout rooms as they wish and participate, or just monitor the interaction.
  1. Screen sharing. Students can share their screens in breakout rooms as well as in the main meeting, which is perfect for collaborative working.
  1. Messaging and closing rooms. The host can communicate with the breakout rooms using a pop-up messaging system. Closing the rooms gives participants a 60-second countdown.

How to use this approach/tool

Breakout rooms need to be enabled in Zoom ‘My Settings’. To do this:

  • Sign in to the Zoom account
  • Go to the ‘Settings’ section then ‘Meeting’
  • Click on ‘In Meeting (Advanced)’
  • The Breakout room function is second on the list
  • Turn the toggle on. The default will also turn on ‘Allow host to assign participants to breakout rooms when scheduling’.

Alternatively, watch this short how to video to see how it is done.

Assigning participants. This can be done whilst the meeting is in progress or in advance. It is easy to set up groups and assign participants whilst the session is in progress. There is also an automatic feature for creating groups quickly, but with the flexibility to move people around as needed.

To assign participants to breakout rooms in advance, first schedule a meeting then, in the ‘Meeting Options’ section, select ‘Breakout Room pre-assign’ and click ‘Create Rooms’. Students’ email addresses are needed in order to pre-assign a breakout room or this can be done by uploading a .csv file.

It may be just as easy to plan the groups beforehand then assign them in the synchronous session, depending on attendance.

To assign participants to breakout rooms during the meeting, open the breakout rooms tab at the bottom of the screen to create and assign participants automatically or manually.

Inclusivity and Accessibility review

Breakout rooms offer an alternative and inclusive environment which can engender greater participation from learners. If the teacher is not present as often in the rooms then students can feel more comfortable to discuss and share ideas (akin to Think-Pair-Share) before rejoining the main meeting and presenting work in front of the whole group.

The videos linked here (Zoom’s own tutorial, 2 - Flipped Classroom) and in the reference list below provide straightforward tutorials on how to use breakout rooms.

Ensure all relevant activities are added to the Student Study Plan for the module in question.

All online resources should be compatible with the UK Digital Accessibility Standards 2020. See Creating Digitally Accessible Learning and Teaching Materials Brookes Moodle course.

Use the Blackboard Ally tool to help check the accessibility of the content you have prepared (available within Moodle late July - early August 2020).

Create breakout rooms setting

Author/s

  • Jon White

Further resources/references